· 13 min read
A Beginner's Guide to Growing Mushrooms from Spores
Learn the fundamentals of spore germination, sterile technique, and mycelium development for microscopy-focused research.
Starting the journey of growing mushrooms begins with a single, microscopic spore. This guide explores the fascinating process where these tiny cells first germinate into a vast network called mycelium, which then gives rise to the mushrooms themselves. Understanding this foundational lifecycle is the most critical first step for any amateur mycologist or mushroom enthusiast wanting to learn about cultivation for research or culinary purposes.
From Microscopic Spore to Thriving Mycelium
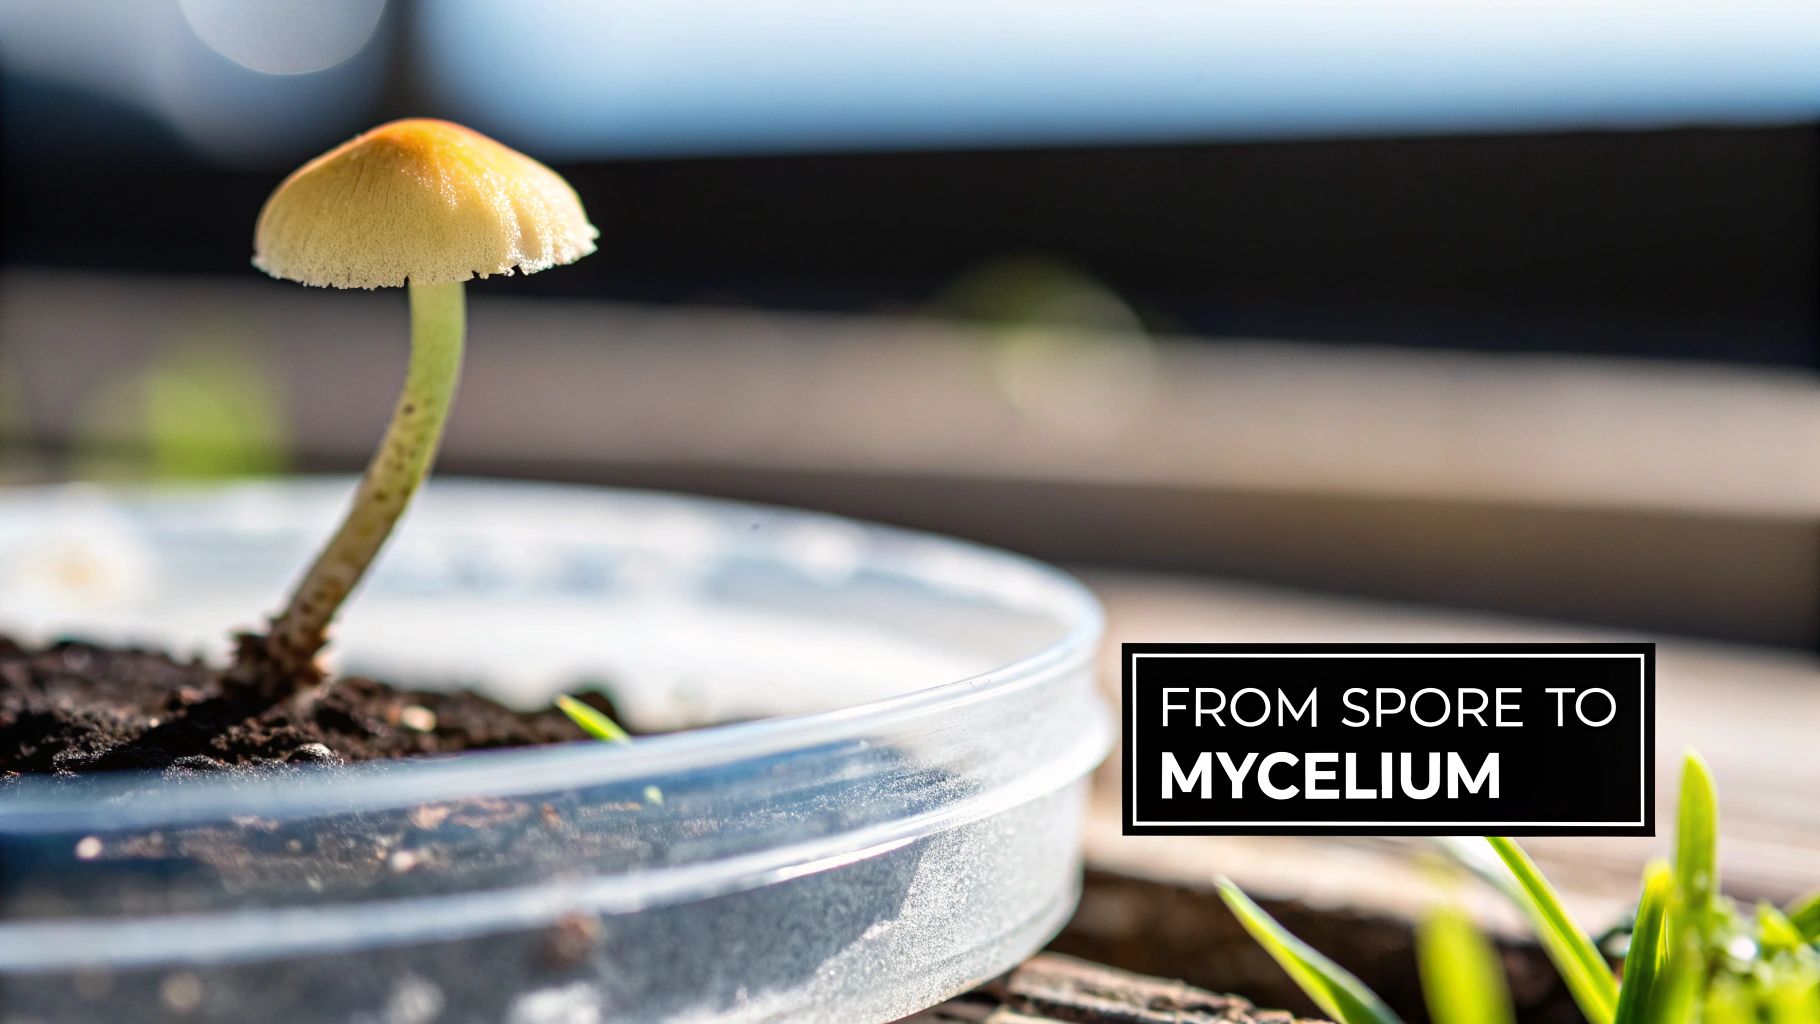
Your venture into mycology kicks off with spores. Think of these cells as the fungal equivalent of a plant’s seed; they hold all the genetic blueprints needed to create a new organism. When provided with the right environment—moisture, nutrients, and the correct temperature—they germinate and send out a tiny, thread-like filament called a hypha.
As this single hypha grows, it branches out, weaving itself into a complex, web-like structure. This is the mycelium. This white, root-like network is the vegetative body of the fungus, quietly absorbing nutrients from its surroundings. It’s helpful to remember that the mycelium is the main organism, living hidden in its substrate. The mushroom is simply the reproductive fruit of that organism.
This hands-on science is part of a much larger trend. The global mushroom cultivation market is a multi-billion dollar industry fueled by a growing consumer demand for sustainable and nutritious food sources.
Starting Your Research: Spore Syringes vs. Spore Prints
When you’re ready to begin microscopy and taxonomy research, you’ll find that spores generally come in two main forms: spore syringes and spore prints. Each has advantages and disadvantages, especially for a hobbyist just getting started.
- Spore Syringes: These are oral syringes filled with sterile water containing thousands of suspended spores. They are incredibly convenient, especially for beginners, because they come ready to use. You can apply them directly to a microscope slide or a growth medium right out of the package.
- Spore Prints: This is a more traditional method. A spore print is made by placing a fresh mushroom cap on a sterile surface—like aluminum foil or paper—and letting the spores drop to create a dense pattern. Prints are excellent for long-term storage and offer the flexibility to make your own syringes. However, working with them requires a very clean environment and a steady hand to avoid contamination.
Diving into the unique characteristics of different spores is a rewarding part of the research process. You can learn more about how to view spores under a microscope in our detailed guide.
Spore Syringe vs. Spore Print: A Comparative Overview
Choosing between a syringe and a print often comes down to your experience level and research goals. Syringes are beginner-friendly and ready for immediate use, while prints offer longevity and are better suited for those with a solid sterile technique.
| Characteristic | Spore Syringe | Spore Print |
|---|---|---|
| Ease of Use | High. Ready for immediate use on slides or media, minimal prep required. | Moderate. Requires sterile technique to rehydrate spores or make a syringe. |
| Contamination Risk | Low. Sealed and sterile, reducing the chance of introducing contaminants. | Higher. Exposed to open air, requiring a clean workspace to handle. |
| Shelf Life | 6-12 months when stored properly in a cool, dark place. | Years if kept dry, dark, and sealed away from contaminants. |
| Best For | Beginners, direct inoculation, and those without a sterile lab setup. | Experienced researchers, long-term genetic storage, and making custom syringes. |
Ultimately, many mycologists start with syringes and then move on to prints as their confidence and skills grow. Mycology is a science of patience. The initial stage of spore germination into visible mycelium can take anywhere from a few days to several weeks, depending on the species and environmental conditions.
All spores are sold for microscopy and taxonomy research purposes only. Cultivation is not permitted where prohibited by law.
Creating Your Contamination-Free Workspace
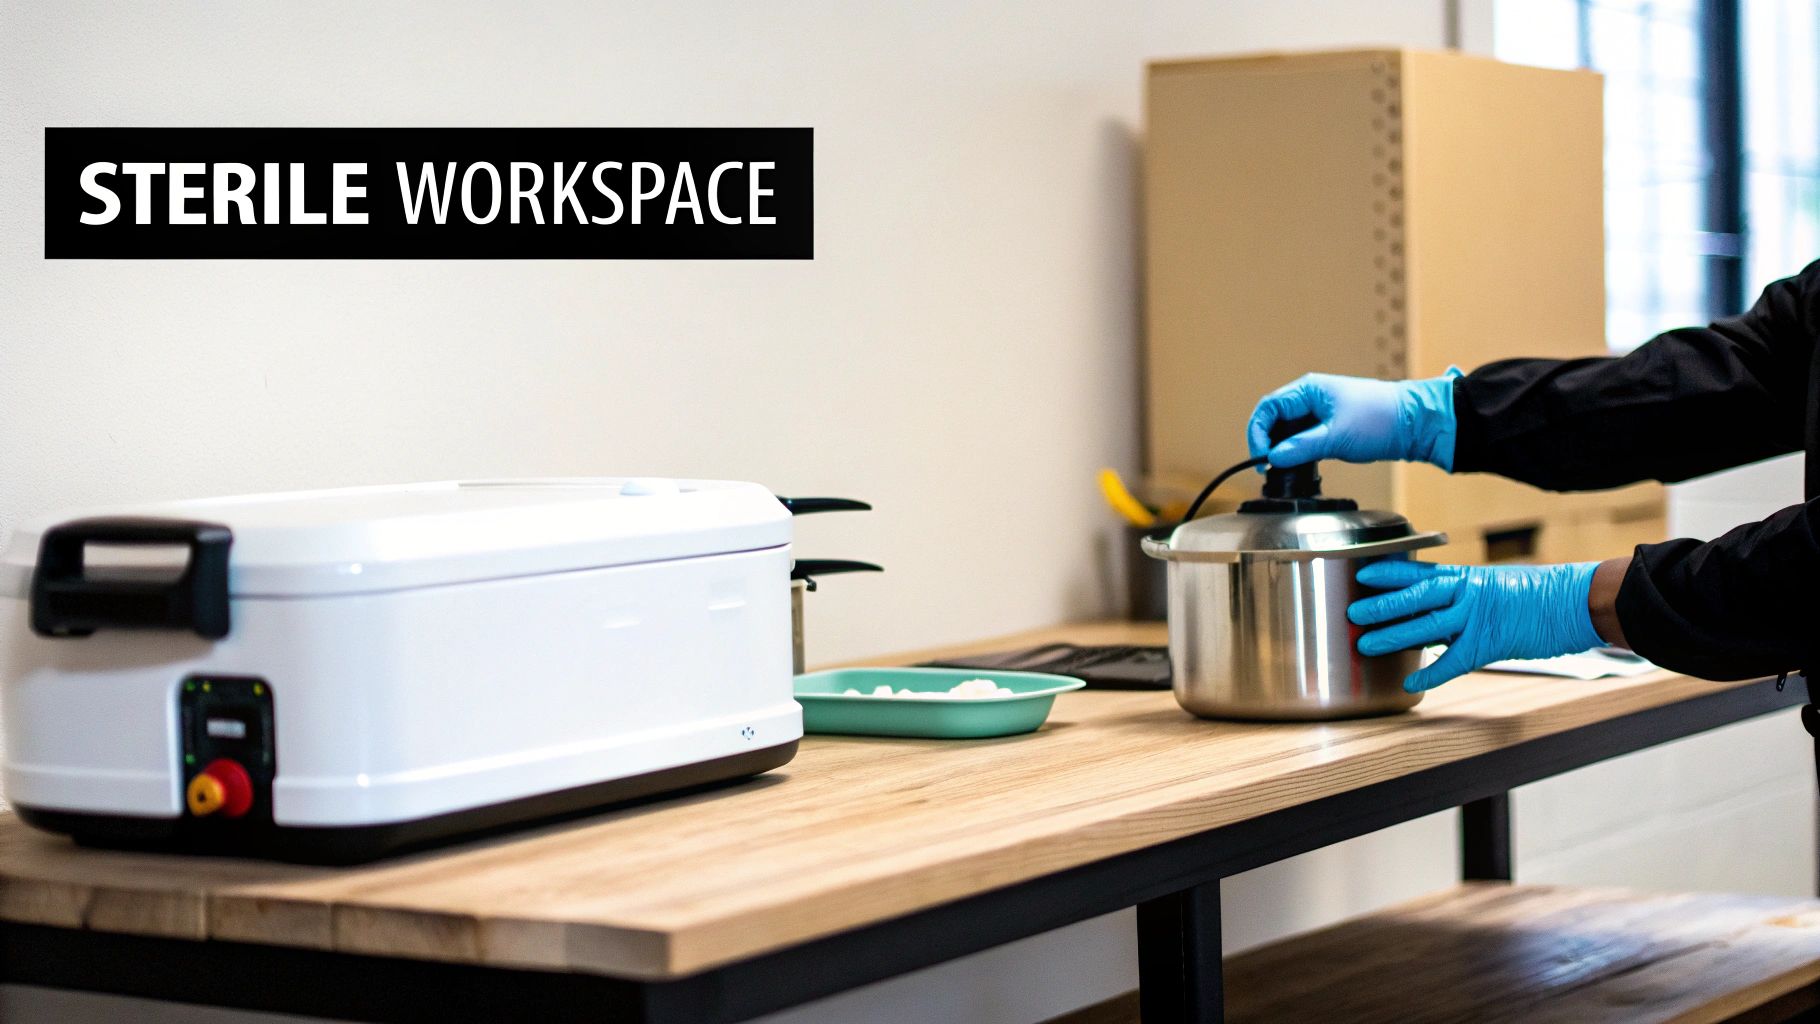
In mycology, your greatest adversary is often invisible. Bacteria, rogue yeast, and competing mold spores float in the air and cling to surfaces. This is why mastering aseptic (sterile) technique isn’t just a good idea—it’s the single most important skill that separates consistent success from contamination. The goal is to create a controlled environment where your chosen mushroom spores have zero competition.
The Foundation of Aseptic Technique
At its heart, sterile technique is a set of practices designed to keep unwanted microbes out. Assume that every surface, and even the air itself, is contaminated. A draft from a doorway, a simple cough, or dust can introduce aggressive invaders that will easily outcompete your mycelial culture. The key is to work with intention—cleanly, deliberately, and without wasting movements.
Choosing Your Sterile Workspace
Your sterile workspace is the heart of your lab. You have several options that fit different budgets and spaces, but they all serve the same function: creating a bubble of still, clean air for sensitive work like inoculation.
- Still Air Box (SAB): This is the go-to for most hobbyists. An SAB is simply a clear plastic tote with armholes, flipped upside down. It works by creating a pocket of still air, which allows airborne contaminants to settle harmlessly on the bottom surface, away from your work area.
- Laminar Flow Hood: This is the professional-grade solution. A flow hood uses a fan to push air through a HEPA filter, which scrubs 99.97% of particles from the air. This creates a constant, outward-flowing curtain of sterile air, physically blocking contaminants.
No matter which you choose, location matters. Find a room with minimal foot traffic and close any windows and vents to eliminate drafts. For more insight into how we approach lab standards, check out our About Us page.
Essential Sterilization Procedures
Once you have your clean air setup, you must sterilize every item that will touch your spores or growth media. This is non-negotiable.
Surface Sterilization
Before starting, wipe down your work surface with a 70% isopropyl alcohol solution. Do the same for the inside of your SAB or the front of your flow hood, plus all your tools and containers. Stick to 70% concentration—it evaporates more slowly than 91% alcohol, giving it more contact time to kill microbes.
Tool Sterilization
For metal tools like scalpel blades or inoculation loops, alcohol wipes are not enough. They need to be flame sterilized.
- Hold the metal tip of your tool in the flame of an alcohol lamp or butane torch until it glows red-hot.
- Allow it to cool for 15–20 seconds inside your sterile workspace. Do not wave it around.
- Use the tool immediately. If it touches a non-sterile surface, you must flame sterilize it again before the next transfer.
Learning these cleanroom workflows is the price of admission for anyone serious about this hobby. While our spore syringe collection is a great place to begin your research, mastering these skills is what unlocks the more advanced and rewarding aspects of mycology.
All spores are sold for microscopy and taxonomy research purposes only. Cultivation is not permitted where prohibited by law.
The Inoculation Process: Bringing Spores to Life
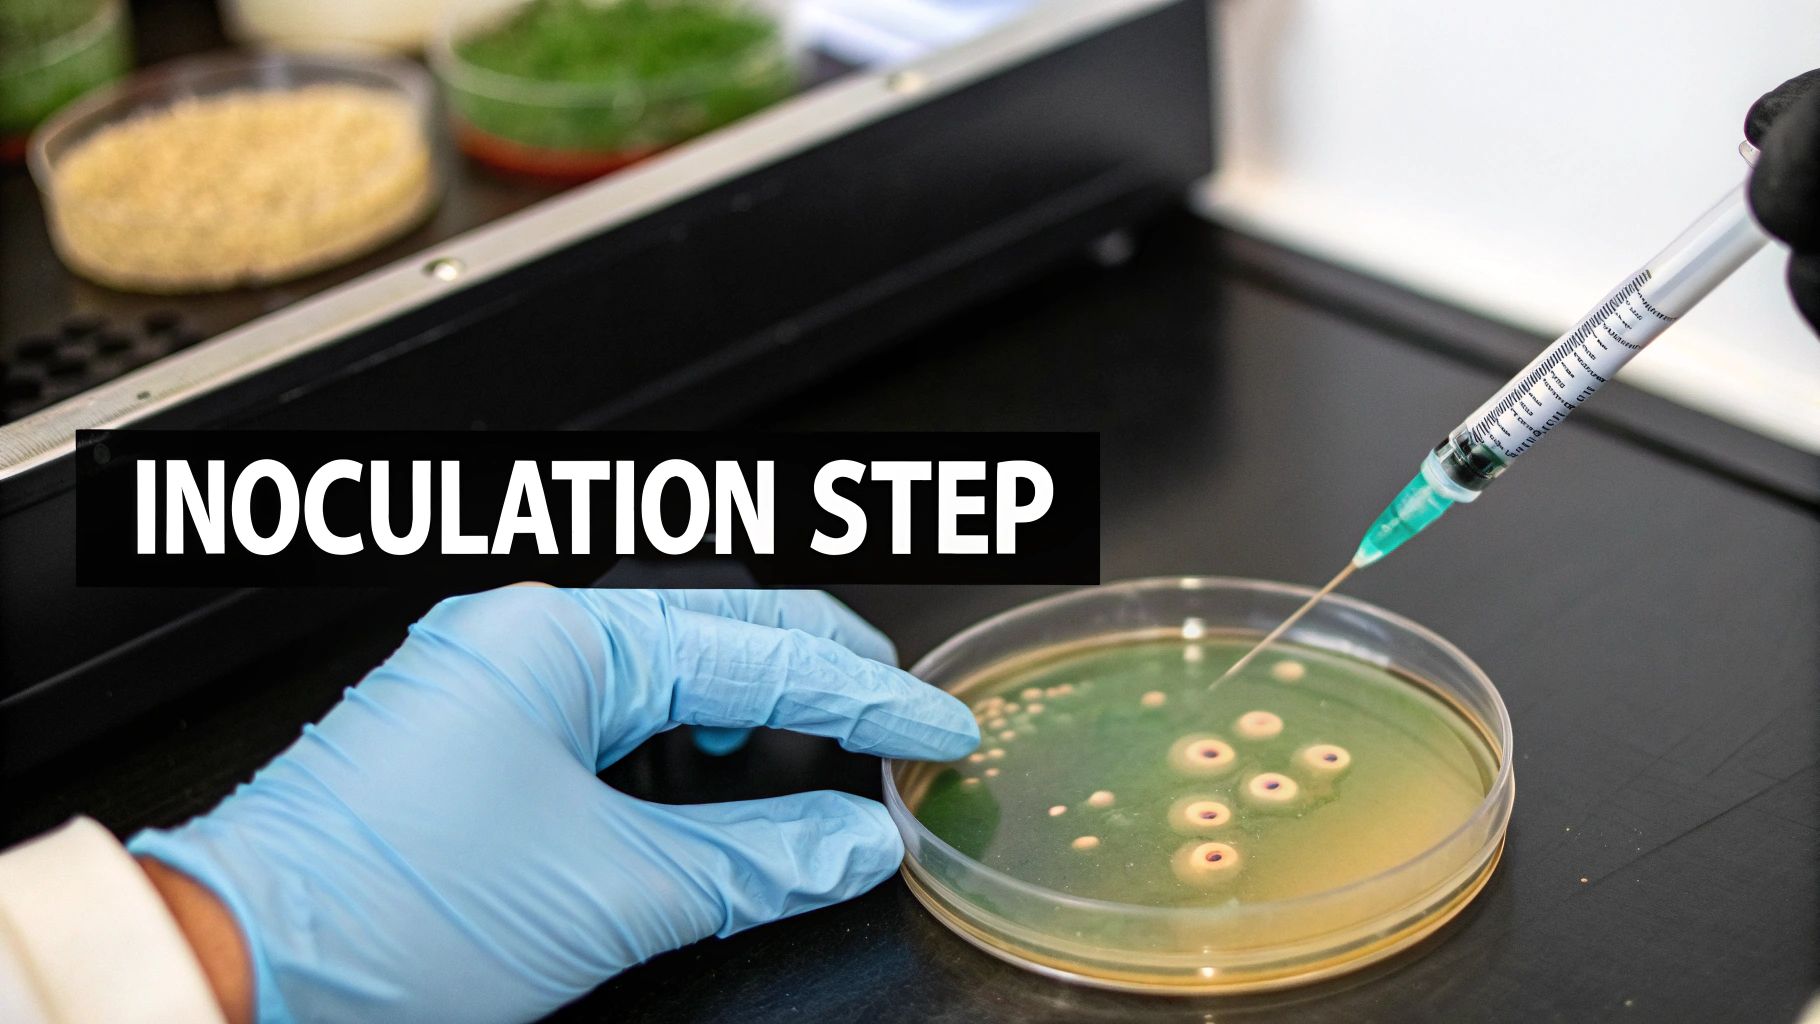
With your sterile workspace ready, it is time for inoculation. This is the process of introducing your spores to a nutrient-rich home, giving them the opportunity to germinate and grow into mycelium. This step rewards a steady hand and careful attention to sterile procedure. We will cover three primary methods used by mycologists.
Germinating Spores on Agar Plates
For a precise, controlled approach, working with agar is the professional’s choice. Agar is a seaweed-derived gelatin mixed with nutrients and sterilized in petri dishes. Placing your spores on an agar plate provides a clear view of germination and mycelial growth.
The power of agar is selection. As the spores sprout and mycelium fans out, you can easily spot the strongest, most vigorous growth. More importantly, you can immediately identify any contamination. This allows you to slice out a tiny, clean wedge of healthy mycelium and transfer it to a fresh plate, effectively cleaning your culture before committing it to a larger substrate.
- With a Spore Syringe: Inside your sterile workspace, place one or two drops from the syringe onto the center of the agar.
- With a Spore Print: Flame-sterilize a scalpel, let it cool, and gently scrape a few nearly invisible specks of spores from the print onto the agar surface.
Seal the dish with parafilm or micropore tape and place it in your incubation area.
Direct Inoculation into Sterilized Grain
For a more straightforward method, you can inject spores directly into a jar of sterilized grain, such as rye or oats. This approach combines germination and the first stage of colonization into a single step. It is efficient but carries more risk, as contamination deep inside the grain may not be visible until it is too late.
Using a spore syringe, flame-sterilize the needle until it glows red, let it cool for about 20 seconds, and then inject 1-2 mL of the spore solution through a self-healing injection port on the grain jar lid.
Creating a Liquid Culture
A liquid culture (LC) is an excellent tool for scaling up your work. It involves germinating spores in a sterile nutrient broth—typically water with honey or light malt extract. The result is a jar filled with a living network of mycelium suspended in the liquid. A single LC can be used to inoculate dozens of grain jars and colonizes much faster than starting from spores each time.
The key difference is that a spore syringe holds dormant spores, while a liquid culture contains active, growing mycelium. This is why LCs colonize grain so much quicker. Making a liquid culture is an intermediate skill because the cloudy broth can hide bacterial contamination. For more details, our guide on liquid culture vs. spore syringe can help you decide.
All spores are sold for microscopy and taxonomy research purposes only. Cultivation is not permitted where prohibited by law.
Incubation: The Quiet Growth Phase
Once inoculation is complete, your project enters the quiet but essential phase of incubation. This is where the spores germinate and the mycelium begins its slow, steady journey through the nutrient-rich substrate. Your role now shifts from active participant to a watchful guardian of the environment.
This stage is all about stability. Mycelium is a delicate organism, and large environmental swings can stunt its growth or invite competitors. Getting this part right will reward you with a robust mycelial network, ready for the final fruiting stage.
Creating the Ideal Incubation Environment
During colonization, mycelium asks for very little, but its needs are specific and differ from the later fruiting stage. For incubation, think warm, dark, and undisturbed. A spot on the top shelf of a closet or inside a cabinet in a room with a steady temperature is often ideal.
The key conditions to maintain are:
- Temperature: Most gourmet and medicinal species, like the popular Oyster mushroom (Pleurotus ostreautus), colonize best between 70–75°F (21–24°C). This warmth is a major factor in encouraging vigorous growth.
- Darkness: Mycelium does not require light for vegetative growth. Darkness helps prevent premature pinning (the formation of tiny, early mushrooms).
- Gas Exchange: As mycelium grows, it respires, taking in oxygen and releasing CO2. Your grain jars or bags must have a filter patch to allow for this passive air exchange while blocking contaminants.
Monitoring Progress and Identifying Problems
Check on your projects every few days, but handle them as little as possible. You are looking for signs of healthy mycelial growth—bright white strands that look either fluffy (tomentose) or rope-like (rhizomorphic) spreading from the inoculation point.
This is also when you must be vigilant for contamination. A good rule of thumb is that healthy mycelium is almost always a crisp, clean white. If you see any other color—especially green, black, or a sickly pink—you have a problem.
Common contaminants include:
- Trichoderma (Green Mold): Often starts as a white patch that looks like mycelium before turning a dusty green as it produces spores.
- Bacterial Contamination: Usually appears as wet, slimy, or milky discolorations on the grain, sometimes accompanied by a sour smell.
- Cobweb Mold: A very fine, wispy gray growth that can spread across a surface in a day or two. It looks distinctly different from the dense white of mushroom mycelium.
To reduce the risk during this phase, many researchers start with an active culture. Our gourmet liquid culture collection can give projects a significant head start.
All spores are sold for microscopy and taxonomy research purposes only. Cultivation is not permitted where prohibited by law.
Fruiting: The Final Stage of Mushroom Development
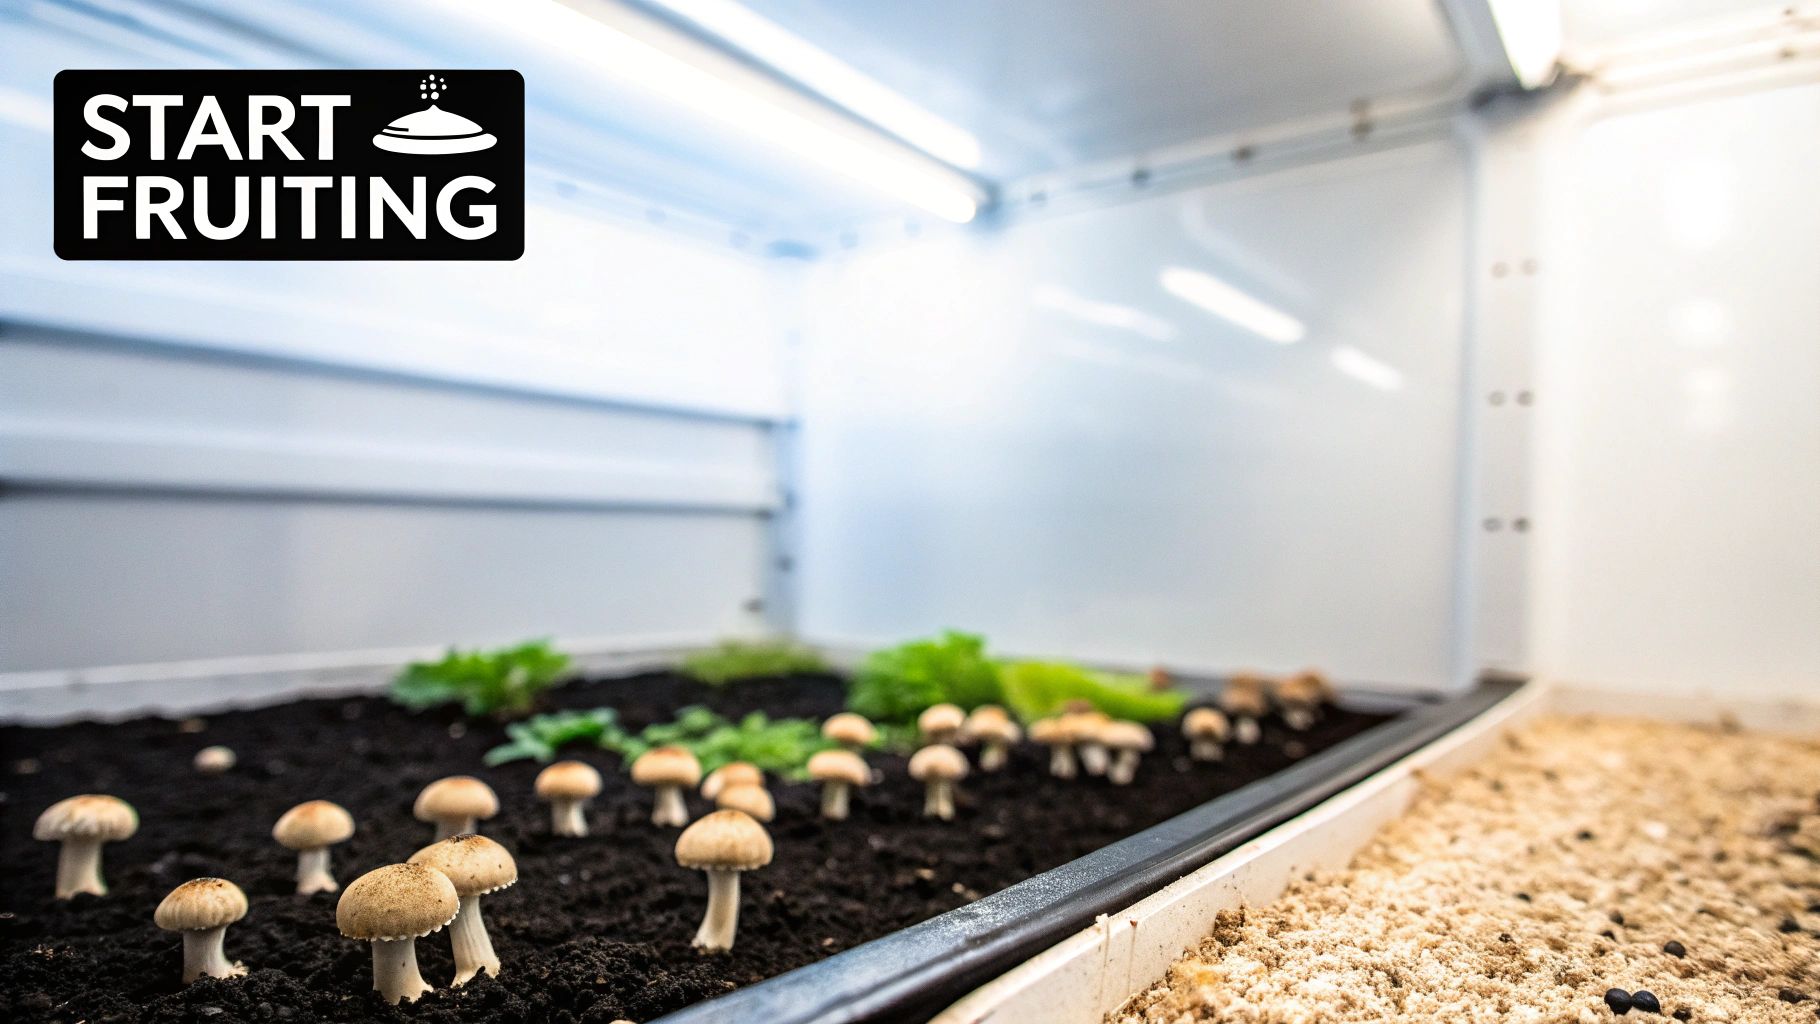
This is the moment all the patient, sterile work has been building toward. After weeks of colonization, your substrate is a solid, dense network of mycelium. Now, you must induce the fungus to switch from vegetative growth to its reproductive, fruiting stage. This involves simulating the environmental cues that signal it is time to produce mushrooms.
Mastering the Four Fruiting Triggers
To convince mycelium to produce fruit, you must mimic the changes a fungus would experience in nature when it breaks through the soil after a rain.
- Temperature Drop: A slight drop in temperature of 5–10°F from your incubation temperature signals a change in season or emergence into cooler air.
- Increased Humidity: You must raise the relative humidity to 85–95%. This high moisture level is critical to prevent tiny mushroom pins from drying out as they form.
- Fresh Air Exchange (FAE): During colonization, CO2 levels build up. Introducing fresh air lowers the CO2 concentration, a powerful trigger for fruiting.
- Introduction of Light: While mycelium grows in the dark, most mushroom species require indirect light to know where to form pins and which direction to grow. Ambient light on a 12-hour cycle is sufficient.
Setting Up a Fruiting Chamber
You will need a dedicated space—a fruiting chamber—to manage these parameters. This can be a simple monotub or a Shotgun Fruiting Chamber (SGFC). An SGFC is a clear plastic tote with small holes drilled on all sides and a bottom layer of moist perlite to maintain humidity. The goal is to create a high-humidity microclimate while allowing for sufficient fresh air. This is typically managed by misting the chamber walls with water and fanning with the lid a few times daily.
Harvesting Your Mushrooms at the Right Time
Timing your harvest is key for research and culinary use. For most gilled species, the ideal time is right before, or just as, the veil—the thin membrane under the cap—begins to tear away from the stem. Harvesting at this stage ensures the mushroom is mature but has not yet dropped its spores.
Use a clean, sharp blade to cut the mushroom at its base, as close to the substrate as possible. Avoid twisting or pulling, which can damage the underlying mycelial network and inhibit future growth. A healthy substrate can produce multiple harvests, known as “flushes.”
This cultivation cycle is at the core of a booming industry. The market for functional and specialty mushrooms is expanding rapidly, with the global functional mushroom market valued at USD 31.09 billion in 2024, according to Fortune Business Insights.
All spores are sold for microscopy and taxonomy research purposes only. Cultivation is not permitted where prohibited by law.
Frequently Asked Questions (FAQ)
Can you grow mushrooms from spores without sterile technique?
While it is technically possible, the chances of success are extremely low. The nutrient-rich substrates used for cultivation are an ideal food source for aggressive contaminants like green mold (Trichoderma). Without sterile protocols, these competitors will almost always overwhelm the mushroom culture before it can establish itself.
How long does it take to grow mushrooms from spores?
Patience is essential in mycology. The total time varies by species and conditions, but a general timeline is:
- Spore Germination: 3 to 14 days
- Substrate Colonization: 2 to 6 weeks
- Fruiting: 5 to 21 days From spore syringe to first harvest, a typical project can take anywhere from one to three months.
What is the most common reason for failure when growing from spores?
Contamination is, by far, the most common reason for failure. A small mistake in sterile technique—a draft, an improperly sterilized tool, or even breathing too close to your work—can introduce contaminants that will ruin a project. Mastering a clean workflow, as detailed in our guide to creating a contamination-free workspace, is the single most important skill for a successful mycologist.
All spores are sold for microscopy and taxonomy research purposes only. Cultivation is not permitted where prohibited by law.
Ready to begin your journey into mycology? To continue your studies, you can Explore our spore syringe collection for microscopy research to observe a wide variety of species. As you gain experience, our in-depth guides can help you refine your technique, while learning more about our company on our About Us page provides insight into our commitment to quality.